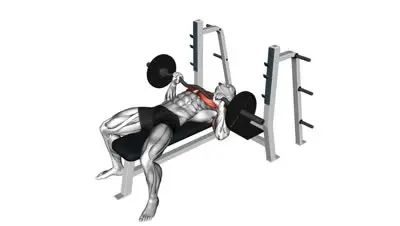
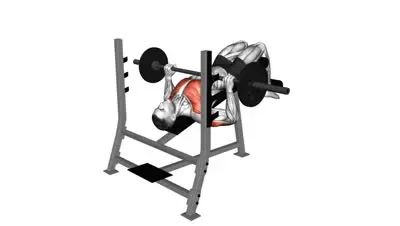
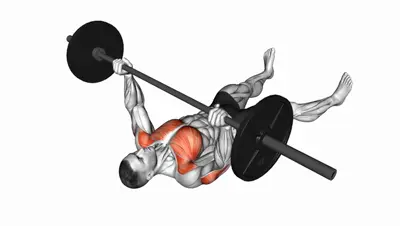
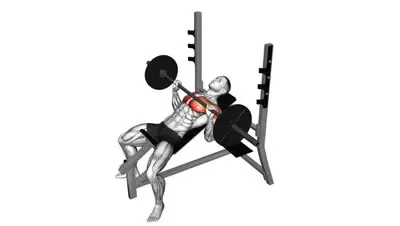
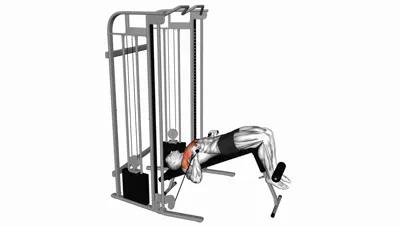
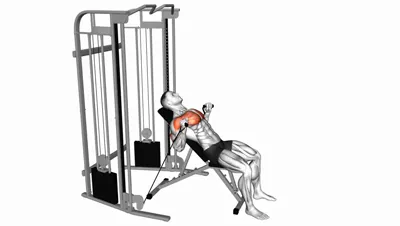
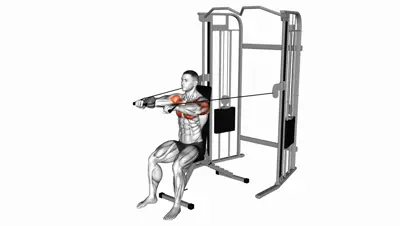
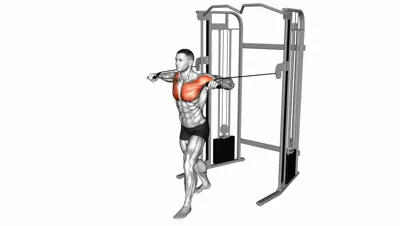
Incline Chest Press

Free workout tracker app for iOS & Android — track this exercise with AI weight suggestions and auto PR tracking.


Target Muscle Chest
Also Works
TricepsFront Delts
Equipment Machine
Type Compound
Movement Push

Track Incline Chest Press in the free GymPsycho app

AI weight suggestions · Auto PR tracking · 14-day free Pro trial

Description

The machine incline chest press targets the upper chest through a fixed, pre-determined pressing path, letting you load the clavicular pec fibers without balancing a barbell or stabilizing independent dumbbells. Compared to the barbell, dumbbell and cable incline variations, the machine removes nearly all stability demands, so you can focus purely on pressing hard and controlling the negative — which also makes it one of the safest incline presses to push close to failure without a spotter. The seat and handle setup determines everything: set correctly, it puts the handles at upper-chest level and keeps tension on the pecs from stretch to lockout.

How to perform

  1. Set the seat height first Adjust the seat so the handles sit at upper-chest level, roughly in line with your collarbones. Your forearms should be horizontal at the start of the press.
  2. Plant your back and feet Sit with your entire back against the pad, feet flat on the floor, and pull your shoulder blades down and back into the backrest.
  3. Grip and unrack the handles Grip the handles at shoulder width or slightly wider. If the machine has a foot assist lever, use it to bring the handles into the start position.
  4. Press up and slightly inward Push the handles away until your arms are almost fully extended, keeping your shoulder blades pinned against the pad throughout the press.
  5. Stop just short of lockout Avoid slamming into full elbow extension — stop just short of lockout to keep tension on the upper chest rather than resting on your joints.
  6. Lower with full control Bring the handles back over two to three seconds until you feel a clear stretch across your upper chest, then begin the next rep without bouncing.

Tips

  • Take a moment to test the seat height with an empty press — a setting one notch too high or low shifts the load from upper chest to front delts or triceps.
  • Keep your shoulder blades pulled down and back for the entire set; letting them roll forward at the end of the press turns the movement into a shoulder exercise.
  • Use the fixed path to your advantage: slow the lowering phase down to two to three seconds for more hypertrophy stimulus at the same weight.
  • Because no balance is needed, this is one of the best presses for controlled sets close to failure — save your hardest efforts for this machine rather than free-weight inclines.

Common mistakes

  • Wrong seat height — handles that start below or above your upper chest redirect the load to the triceps or front delts; set the handles level with your collarbones.
  • Letting the shoulders roll forward at the end of the press — this protracts the shoulder blades, reduces pec tension and stresses the shoulder joint; keep them pinned to the pad.
  • Bouncing out of the bottom position — reversing direction abruptly unloads the muscle exactly where the stretch stimulus is highest; pause briefly instead.
  • Loading more weight than you can control on the negative — the machine's stability invites overloading; if you cannot lower in two seconds, the weight is too heavy.

Recommended sets & reps

Sets Reps RIR
Strength 3–4 6–8 1–2
Hypertrophy 2–3 8–12 1–2
Endurance 2–3 12–15 2–3
Power 3 4–6 1–2

These ranges are working sets only — add 1–2 progressive warm-up sets before each working set. Pair with 2× per week frequency to reach ~10–20 weekly sets per muscle group, the volume range supported by current evidence (Schoenfeld 2017, Pelland 2025).

Benefits

Builds the upper chest with far less setup and skill than barbell or dumbbell incline pressing, since the machine dictates the bar path and removes the balance requirement entirely. Allows safe training close to failure without a spotter, which matters because the final hardest reps of a set drive much of the hypertrophy stimulus. Provides a consistent, repeatable movement pattern that makes week-to-week progressive overload easy to measure — the same path, seat setting and range every session. Reduces the stabilizer fatigue that limits free-weight pressing, letting you accumulate quality upper-chest volume even at the end of a session when barbell work would already feel shaky.

Frequently asked questions

Is the machine incline press good for beginners?

Yes — it is one of the best incline presses to learn on, because the fixed path removes the balance demands of barbells and dumbbells. Focus on seat setup and controlled negatives from day one, and the skills carry over when you later add free-weight pressing.

Machine incline press vs incline barbell press — which is better?

Neither is universally better. The barbell allows heavier absolute loads and trains stabilizers; the machine isolates the upper chest more predictably and is safer near failure. Most complete programs use free weights early in the session and machines to finish.

What angle does the machine incline press target?

Most incline press machines are built around a 30–45 degree pressing angle, which biases the clavicular (upper) portion of the pecs while the front delts and triceps assist.

How do I know my seat height is correct?

At the start position the handles should be level with your collarbones and your forearms roughly horizontal. If your wrists are clearly above shoulder level or the press feels like it goes upward rather than forward, adjust the seat.

Educational guidance only — not a substitute for in-person coaching. Train within your ability and use a spotter for heavy attempts.

Ready to train smarter?

Plan Generator. AI insights. PR tracking. All in one app.

Download Free